Manage Emails
The Connected BusinessEmail is the email client component of the Connected Business Email solution. It currently works with POP3 email servers and will support SMTP and HTTP servers in the future releases.
COMPOSE NEW EMAIL MESSAGES
- In the Connected Business Email form, click on the email account you will use from the Folder List. Then click on the New button and select Email. The Email Composer will display.

You can still change the email account to use in the Email Composer by selecting it from the Accounts drop down menu of the Email Composer.
- Select the type of the type of email you want to compose, if plain text or HTML.
- For Plain Text, you can use the Formatting toolbar for modifying the text properties.
- For HTML, you may add message elements such as images, hyperlinks and tables and other html elements.
- Provide a Subject for the message.
- You can add both email and fax recipients from the Composer screen.
See Also: Fax Accounts - Add email recipients by clicking on the To, CC and BCC buttons to choose from the existing contacts. You can also type in the email addresses in this fields separated by a comma.
- Add fax recipients by clicking on the Fax Directory button next to the TO, CC, and BCC buttons to choose from a list of contacts.
- In the word processor area, you will see the Template pane. Click on this to view a list of available letter templates. You can use these templates by double clicking on a template from the list.
- You can also use prewritten messages. To do this, click on the Open button from the toolbar menu of the word processor area and browse for the document to import.
- By default, all messages are set as private. To show the email to other members of the team, select No in the Send as Private field pulldown.
- To send messages in your Outbox, click on the pulldown button beside the Send/Receive button and select Send/Receive or the Send All option. Fax messages will have a fax icon before the fax recipient address.
SET UP EMAIL ACCOUNTS
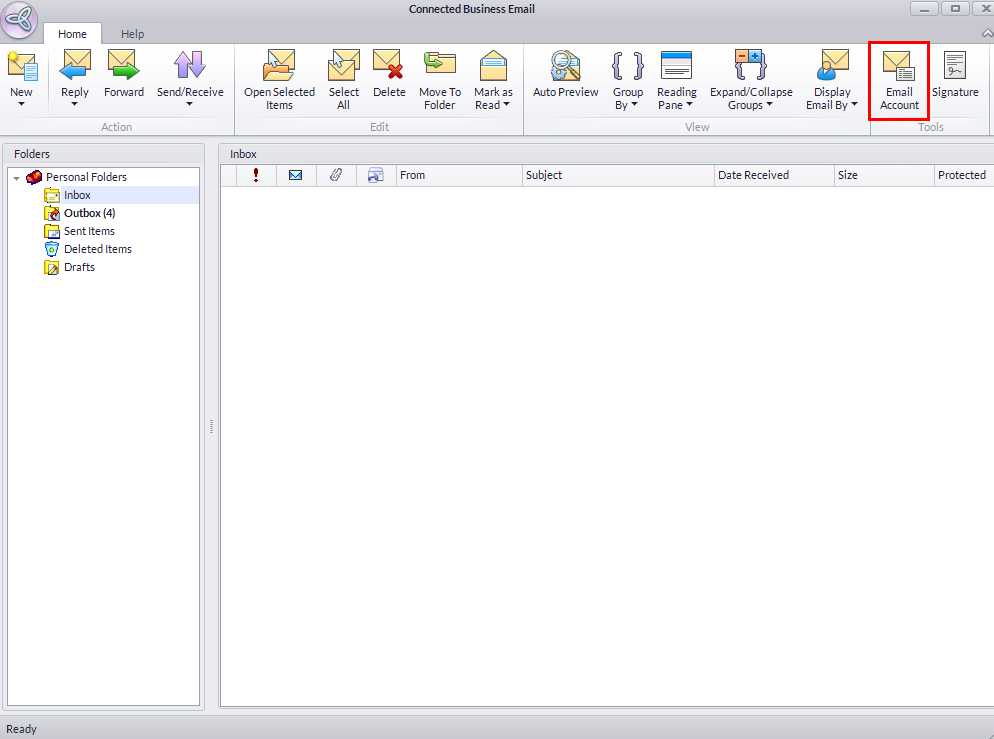
From the Connected Business Email form,
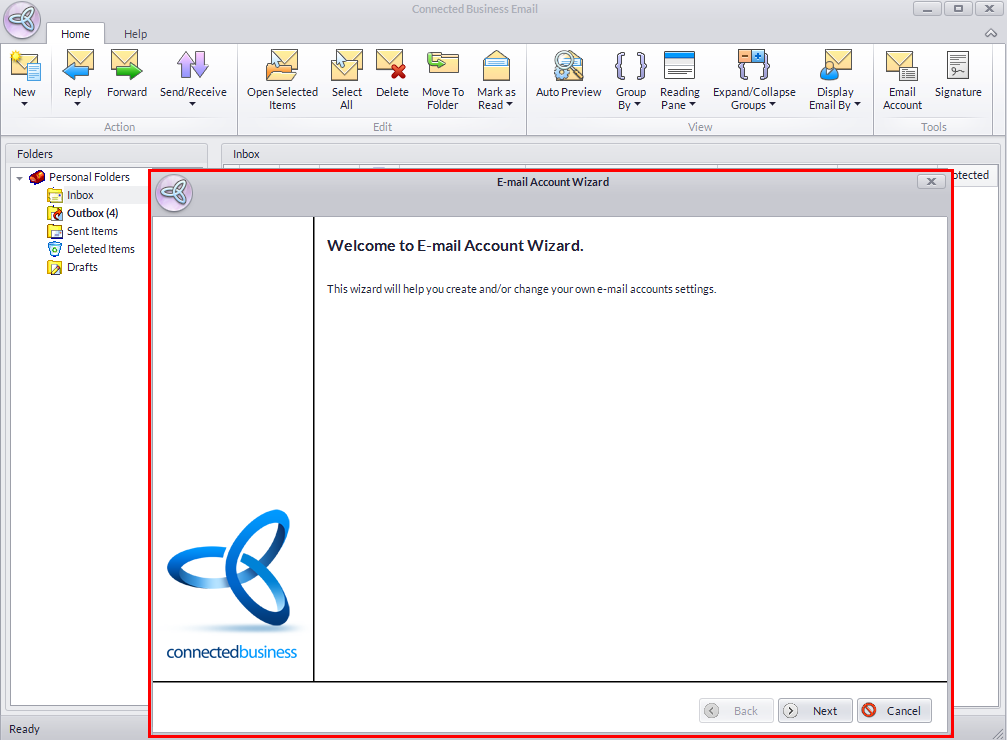
- From the toolbar menu, click on New ► Email Account. The New Email Account Wizard will display.
- Click Nextbutton in the first screen to start.
- Click on the Add button to create a new email account.
See Also: Set up User Email Accounts
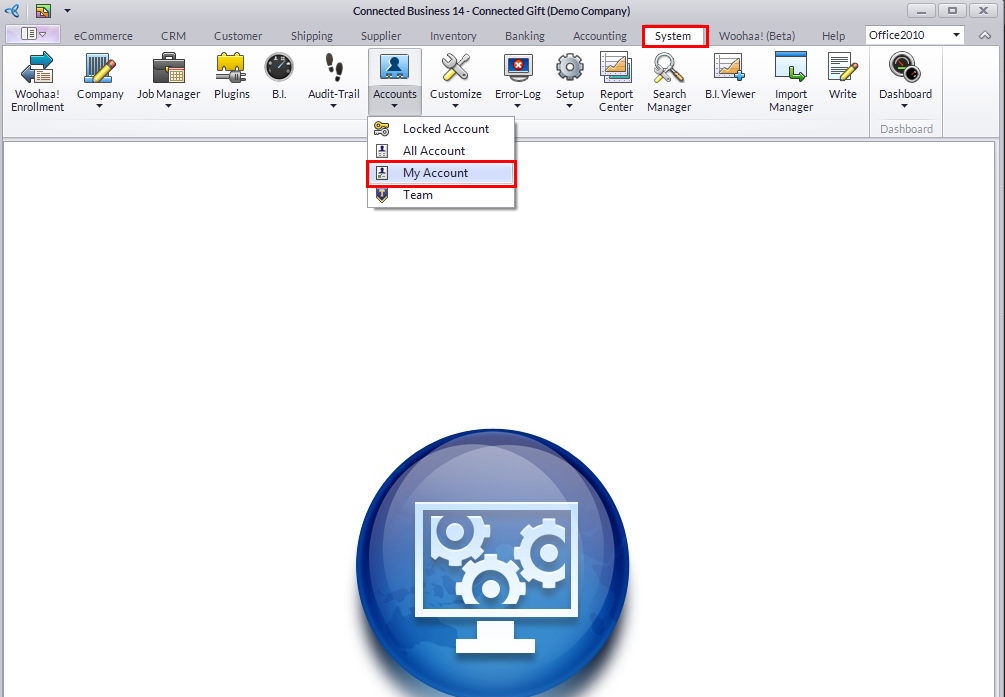
From the User Accounts form,
- Select User Accounts under the System User menu of the System Manager module.
- In the User Account setup form, click on the Email tab.
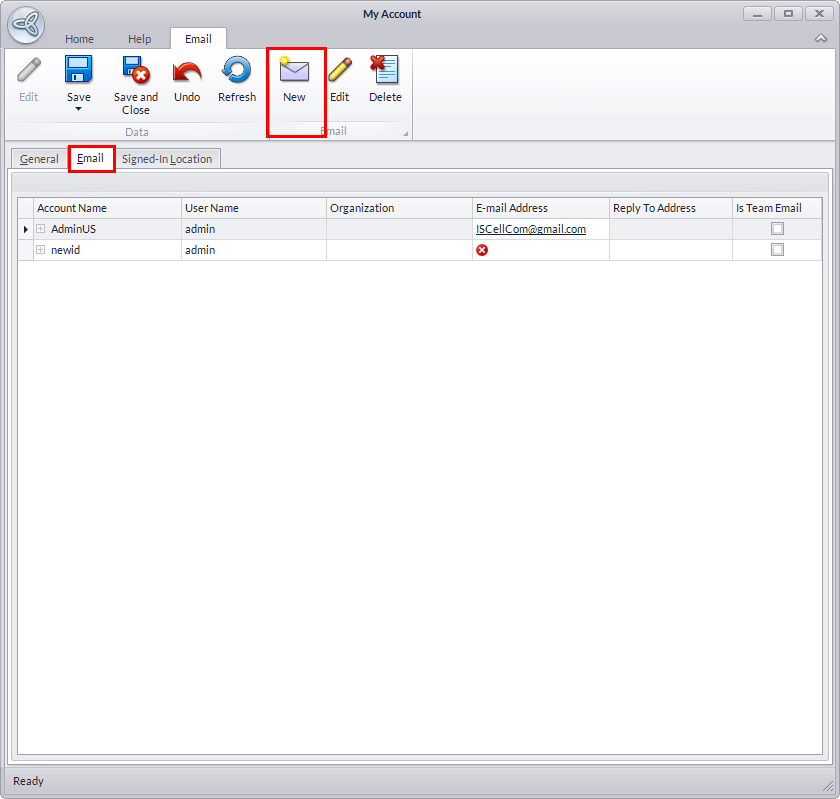
- Click on the New Email Account button to display the Email Account Wizard.
See Also: Set up User Email Accounts
SEND PRIVATE MESSAGES
When using the team email to send messages, you can send private messages so it won’t be read or viewed by other members of the team. When set as private, the email message would not display in any of the message folder of the team email account when viewed by other users in Connected Business.
- By default, all messages are set to private. To show the email to other members of the team, select No in the Send as Private field pulldown of the Email Composer.
FILTER EMAIL MESSAGES
From the Display Email by pulldown, select:
- My Email- to display personal email messages.
- Team Email- to display team email messages
- No Filter - to view all email messages
FORWARD EMAIL MESSAGES
- To forward email messages, select the email message from the Message list and click on the Forward button in the toolbar menu of the Connected BusinessEmail form. The Email Composer will appear.
- Select recipients by clicking on the To button or the Fax Directory button.
- You can modify the message before sending.
- Click on Send All or the Send/Receive button to send.
REPLY / REPLY ALL MESSAGES
- To reply to an email message, select the message in the Message list and click on the Reply or Reply All option in the toolbar menu. The Email Composer will display.
- Compose the message and click on the Send All or Send/Receive option to send the email message.
MARK MESSAGES AS READ OR UNREAD
- To mark messages as read or unread, right-click on a message in the Message list and select Mark As Read or Mark As Unread.
- To mark all messages in a message folder as read or unread, right click on a folder in the Folder list and select Mark All as Read or Mark All as Unread.
SAVE MESSAGES
- From the Email Composer, click on File ► Save or use Ctrl+S. The message will be saved in the Drafts folder.
SORT MESSAGES IN THE MESSAGE LIST
- You can sort the messages by descending and ascending order in the Message list by clicking on the column headers.
- You can find more options when you right-click on a column header.
See Also: Common elements in the Connected Business modules ► Grids
MOVE MESSAGES TO OTHER MESSAGE FOLDERS
To move messages,
- To move messages to other folders, select the message from the Message list and select the Move button from the toolbar menu (or right-click and select Move To Folder). The Move Items window will display.
- Select the message folder to move the message into and click OK or create a new folder by clicking on the New button.
MOVE FOLDERS
Note that default message folders cannot be moved. To move folders and sub folders,
- Right-click on the message folder and select Move Folder Name.The Move Folders window will display.
- Select the message folder to move the folder into and click OK or click on New to create another message folder.
GROUP / UNGROUP MESSAGES
The default grouping of email messages sent or received is by date. You can use the grouping option to group the message by e.g. Importance.
To group the messages in the Message list,
- From the menu bar, click on View ► Group By and select a criteria to view the email messages. The Show in Groups option must be enabled
To ungroup messages in the Message list,
- Click on View ► Group By and uncheck Show in Groups to turn off message grouping.
CREATE NEW MESSAGE FOLDER
- From the menu options of the Connected Business Email form, click on New > Folder. The Create New Folder window will appear. Select the message folder you want it to appear in or select the Root folder to create the folder in the same level as the default message folders. Enter the folder name and click OK.
- Select from the folders where your will put the new folder under. The Create New Folder window will display.
RENAME MESSAGE FOLDER
Note that default message folders (Inbox, Outbox, Sent, Deleted and Drafts) cannot be renamed.
- Select the message folder from the list and select Rename “Folder Name”. Then, type in the new folder name.
DELETE MESSAGE FOLDERS
Note that default message folders (Inbox, Outbox, Sent, Deleted and Drafts) cannot be deleted.
- Select the message folder from the list and select Delete “Folder Name”.
SCHEDULE AN AUTOMATIC SEND AND RECEIVE EMAIL MESSAGES
- User may optionally setup the automatic send and receive of email messages by configuring the Email Service Manager.
See Also: Configuring the Email Service Manager for the complete procedure.